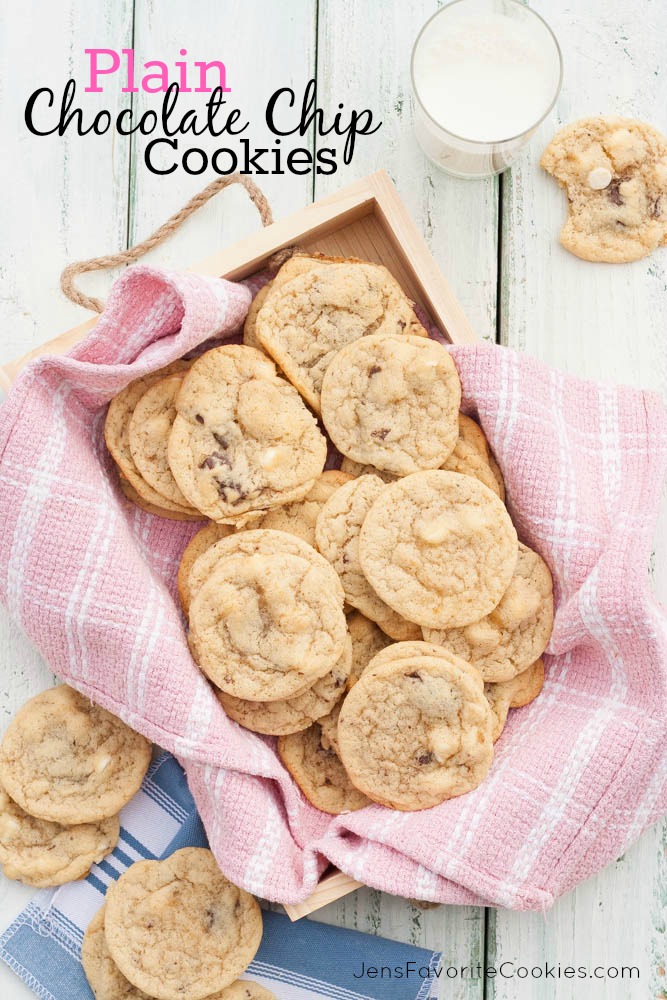
 I have all manner of chocolate chip cookies on this site. The brown sugar one, the egg free one, the one made with condensed milk.
The oatmeal one, the crunchy one, the one on a stick.
The one with walnuts.
The chocolate chip dip.
The chocolate chip scones.
The chocolate chip cake.
In fact, I have a collection of over 100 chocolate chip cookie inspired recipes.
But what I do not have on this site is a plain chocolate chip cookie. Why? The truth? I’m intimidated by it. The way a medical researcher is daunted by the idea of curing the common cold. It’s simple, it’s basic, and it’s HUGE.
My daughter called me out on this the other day, after I called her out for making the totally wrong chocolate chip cookie recipe. She claimed she was forced to make that recipe because there is no Plain Chocolate Chip Cookie recipe on my site. I guess I was just hoping she would choose one of the others, and modify it to suit her needs.
Yeah, yeah, yeah, it wasn’t my smartest move.
But after my kids made two batches of chocolate chip cookies in the same week using a really sub-par recipe, I decided that I wouldn’t try to give you the perfect chocolate chip cookie recipe. I would just give you the plain old recipe we usually make, the basic one that everyone knows and loves. A pretty good chocolate chip cookie recipe.
And then explain to my children why we use this one, and how to make it.
If you already know how to make chocolate chip cookies, feel free to skip the following.

AN OPEN LETTER TO MY CHILDREN
DEAR CHILDREN:
I love when you make chocolate chip cookies. I really do. But it’s time we learned to do it right. So next time you are making cookies, please use the following recipe and follow these rules.
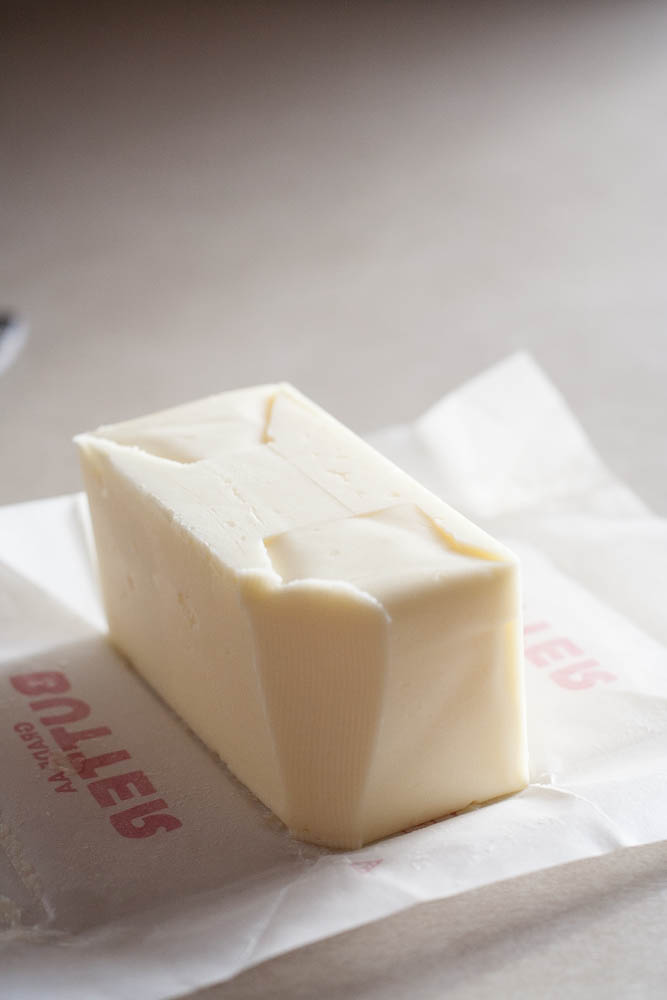
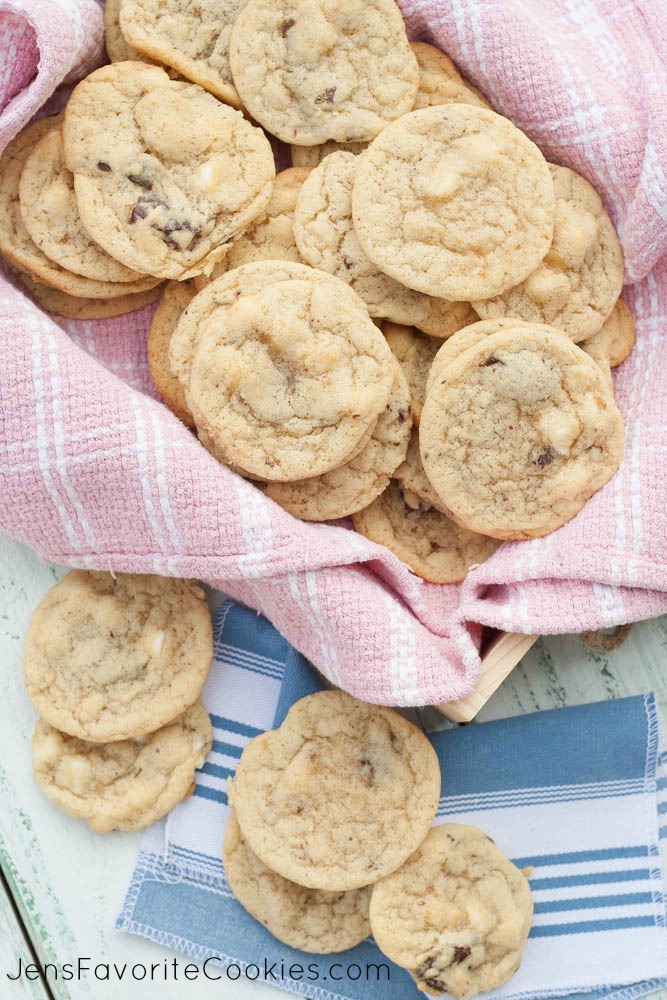
1. For the love of all that is holy, there is no need to use 2 cups of butter to make one batch of cookies! Even a large double match will require only 1 cup. The recipe below uses only 1/2 cup, which is just one stick of butter. This is plenty. We don’t actually need a double batch every time we make cookies, because as much as we might enjoy them, it’s really not a good idea for us to eat cookies for breakfast, lunch, dinner, 2nd breakfast, 2nd lunch, 2nd dinner, elevensies, afternoon tea, and midnight snack. A regular batch is plenty. I actually got 39 cookies from this batch. Which would have been 42 if you guys had kept your moochy little fingers out of my dough.
Also, softened butter is not the same as cold butter or melted butter. Baking is basically chemistry, and butter in its different forms reacts differently, just like water differs from ice and vapor. This recipe uses softened butter. That means it’s at room temperature. If no room temperature butter is available, you can put a stick in the microwave, but do it on a low power level for a very short time, because if it starts melting, it changes.

2. After you put the butter in the mixer, do the sugar next. Guess what? If you understand the big picture, you can make your own choices about the sugar. I like a butter to sugar ratio of about 1:3. That means, for the 1/2 cup of butter you used, you can use 1 1/2 cups sugar TOTAL. You can kind of mix and match the white and brown sugar amounts here.
More brown sugar makes a chewier, softer cookie. More white sugar makes it a bit crispier. If you’re planning on dunking it in milk you want it to hold up to the dunking, so use more white sugar. For the basic recipe, I use 1 cup white sugar and 1/2 cup brown sugar. This cookie tends to be a bit soft anyway, so it doesn’t really need the extra brown sugar.
Mix the butter and the two sugars together. This step is important. We want some (but not all) of the sugar to dissolve into the butter. It gives the cookies their very best texture. So, give it a good minute to mix, but it doesn’t need more than that.
This should give you plenty of time to put the sugar away. Just sayin’.
3. Eggs and vanilla are next. There’s not much to say about these, except please don’t get eggshell in the cookie dough, and if you spill any egg on the counter, please clean it up before it turns to glue. And why do I keep seeing all the ingredients put away except the vanilla? (Not that I’m pointing any fingers. Ahem, Hippie Chick.)
4. Next is salt and baking soda. I use only 1/2 teaspoon of salt because I buy salted butter. Why do I buy salted butter? Because it tastes better. And I’m not into buying different butter for baking with, so I just use less salt in the baking. If you ever find yourself baking with unsalted butter, you can make this a full teaspoon. Don’t skip the salt, thought, because a little salt really does make the cookies taste better.
Baking soda is super important. I know it’s only a teaspoon, but it’s a very important little teaspoon. The baking soda is the leavening, and the cookies will be flat as a pancake (flatter, actually) without it. One teaspoon is the perfect amount. Once you do this, you’re done with the teaspoon measure, so consider just putting it straight into the dishwasher.
You can do it. I believe in you.

5. Flour amount is something we need to discuss. Let me be clear here. Following a recipe is a good thing. But you know what’s even better? Using your brain. If your brain understands why the recipe used that amount of flour, and your eyes can see whether the texture is what it should be, you can confidently make adjustments if you need to.
If you use two cups of butter to begin with, you might end up with a very sticky dough. Sticky dough means there is too much water and not enough flour. (Butter has water in it. And eggs and vanilla are both liquid elements in your dough.) Sticky dough turns into very fragile, flat cookies that have spread too much.
When I look at a chocolate chip cookie recipe, I look at three items… the fat (butter, shortening, or oil), the eggs, and the flour. The ratio in this recipe is 1/2 cup butter – 2 eggs – not quite 2 cups flour. The recipe you’ve been using? It has 2 cups butter – 4 eggs – 4 cups flour. Which is way way too much butter.
I used 1 3/4 cups flour in this recipe. Actually, what I did was start with 1 1/2 cups, and then look at the dough. It was still a little sticky, and didn’t have that heavy dough texture that I like. So I added just 1/4 cup more and looked at it again. This time it looked good, so I didn’t add any more.
Now here is a VERY IMPORTANT POINT. Perhaps the most important. Once the flour is added to the dough, Do. Not. Overmix. It.
You know how bread is kneaded? It is mixed and mixed and kneaded and worked with so that the gluten in the flour makes these very long lovely strands that gives the bread it’s wonderful chewy texture. But no one wants their cookies to be like bread. When we make chocolate chip cookies, we try to avoid making long gluten strands, and we do that by only mixing as much as absolutely necessary, and then not one bit more.
6. Time for the best part – the chocolate chips! Now, dear children, I better never again hear you say the words “All we have is the weird bittersweet chips.” Those bittersweet chips are seriously the best chocolate chips ever. They are my hands down favorite chips. They are big and flavorful and amazing. They are the chips this family uses. I repeat… we use bittersweet chocolate chips in this family. Get used to it.
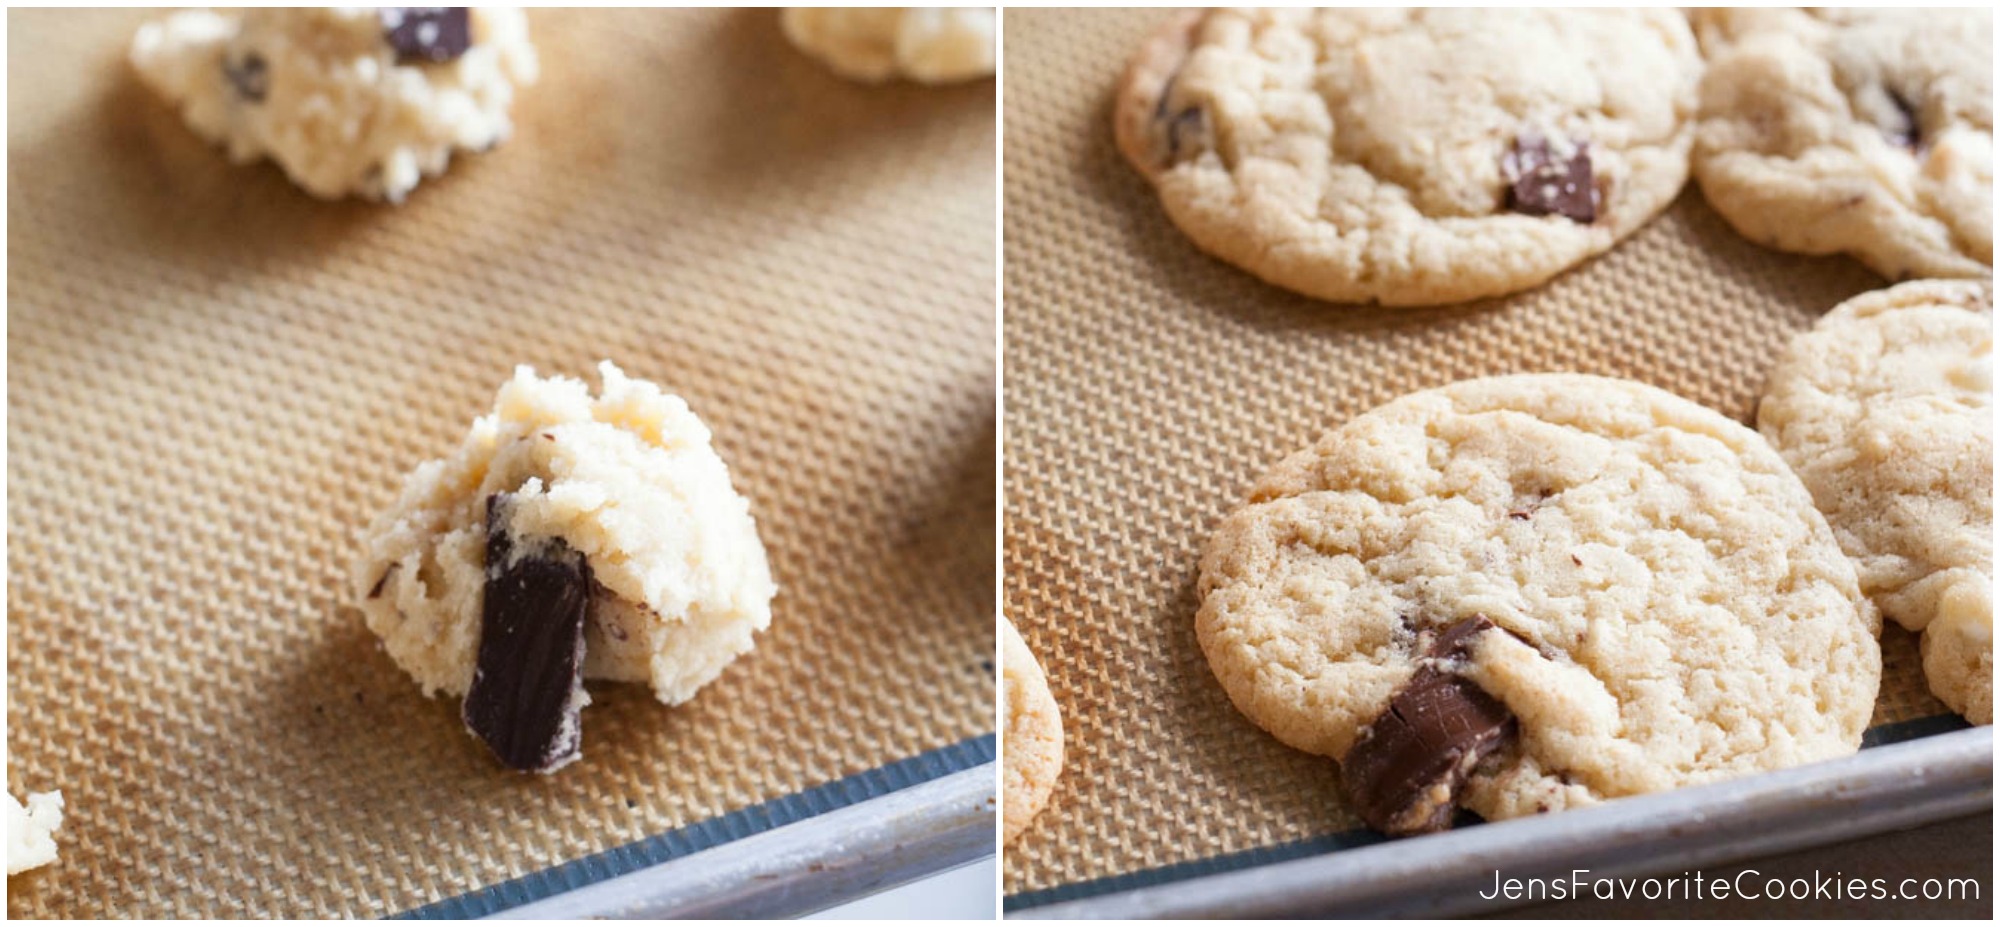
Are there other options? Sure. Since you guys used all my chocolate chips with your terrible recipe earlier this week, I chopped up 2 oz. of a bittersweet chocolate bar, and added a half a bag of white chocolate chips. You can really use any chip combo you want. I have never met a combo I didn’t like, to be honest, though chocolate and peanut butter chips is my favorite combo. You can also throw in some walnuts or coconut if you want.
The cool thing about chopping up a bar of chocolate is that you end up with different sized pieces. Some of them melt in, and other stay in big chocolatey chunks. But the problem with chopping up a chocolate bar is that if you’re not careful the crumbs will get everywhere. And if the dog eats the crumbs from the floor, he will get sick, and you will be on dog diarrhea duty. Be forewarned.
7. Prepare the pan and oven. Remember when I told you that my new oven cooks cool? 350 isn’t really 350 in this oven, unfortunately, so I like to compensate by setting the oven to 365F. (If you’re worried about the accuracy of your oven, try one of these fancy tools. It’s just good info to have.)
I use this big half sheet pan for my cookies, and one big reason for that is that you can get a whopping 20 cookies in the oven at once. Put down the silicone liner, use the cookie scoop to make them all a uniform size, and place them 4-across and 5-down on the baking sheet for 20 total. If you make them big, they’ll bake into one another, but if you use my favorite cookie scoop, which makes the cookies just a touch on the small side, they will fit just fine.
If you don’t want to use the silicone mat, use the parchment paper.

8. Time to bake. Remember what I said earlier about following a recipe and using your brain? With a little practice, you can get really good at knowing when to remove the cookies from the oven. Almost all cookies should be a little underdone when they come out of the oven, otherwise they turn crunchy. But too underdone is not good either. I know this recipe says 8-10 minutes, and you should check them after 8 minutes, but don’t take them out until the centers don’t look gooey anymore and the edges look dry, like they’re just about to turn brown.
If you ever run into this situation where the edges are brown and the centers are still gooey, your oven is too hot. It has over cooked the edges before it got a chance to get to the middle.
Here’s a very important point to remember. Once you set the timer, stay in the room and pay attention! (I’m looking at you, Fruitarian.) If you leave the room, you’ll forget the cookies, and they’ll turn black and make the house smell bad, and then your sister’s friend will think they are chocolate cookies, and take a big bite of what is basically ash, and cough and gag and probably never come to our house again. If you leave them long enough, they could fill the whole house with smoke and make the neighbors wonder if they should call the fire department, like that time you decided to make syrup for your pancakes, and then walked away and left it cooking on the stove.
9. When the cookies are out of the oven, just wait a minute. Take a deep breath or two, and wait. If you’re watching, you can kind of see the cookies deflate and settle into their final shape. If you want them to not fall apart, and I hope you do, let them sit 1-2 minutes on the pan, and then move them to a cooling rack. I know I have several pancake turners to choose from, but the small-ish, wood handled one is truly the best for taking cookies off a pan.
10. Clean up your mess. For real. Actually put the dishes in the dishwasher, actually hand wash the pan and silicone mat, put the cooled cookies in a container with a lid, and wipe the counter. It’s not rocket science. And it will keep your mother from hearing concerned comments from well meaning friends who are worried about how often she threatens to murder her children.
11. Last but not least… Mom tax. Remember that your dad and I get one while they’re still warm.
Thanks kids. You got this. Now, go forth and bake cookies!
Love, Mom.
- ½ cup butter, softened
- 1 cup sugar
- ½ cup brown sugar
- 2 eggs
- 1 teaspoon vanilla
- ½ teaspoon salt
- 1 teaspoon baking soda
- 1¾ cup flour
- 1 cup chocolate chips
- Cream butter, sugar, and brown sugar. Add eggs and vanilla and mix well.
- Add salt and baking soda and mix well.
- Add flour and mix just until combined.
- Fold in chocolate chips.
- Place spoonfuls of dough on a baking sheet, and bake at 350F for 8-10 minutes. Let cool 1-2 minutes before removing to a cooling rack.


